If you need to make Files available for people to download on your website, we've got you covered.
We have two tools that can help you get the job done, depending on whether you want to add a single File Attachment or a File Set. You might want to use these for things such as stationery lists, policy documents or homework sheets.
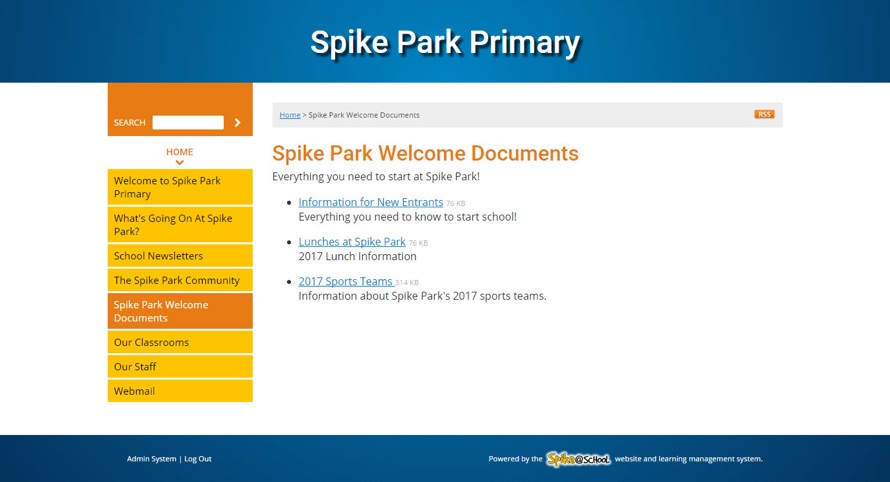
Here’s what your File Set will look like on the front end of your Spike@School website:
File Attachments
A File Attachment is just like a Link. When you add a File Attachment it shows up on your website index bar. This is useful for one-off Files that don't need any explanation. Let's select File Attachment from the ‘Add a New’ menu in the Construction Zone.
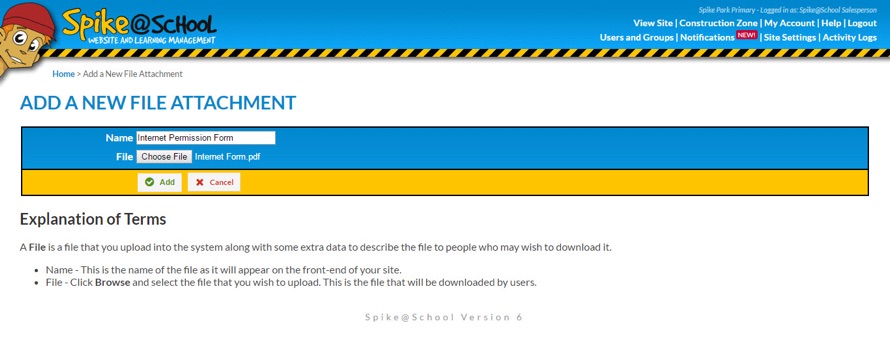
You’ll get this page. Now you just need to give the Attachment a Name and click ‘Choose File’ to browse your computer to find the File you want to upload.
Let's see what it looks like on the yellow index bar.

A visitor can now just click that link to automatically start downloading the File to their own computer. If the document is a PDF then a visitor can both view the File online and download it.
File Sets
A File Set is just like a Link Set in that you can add as many of them to your site as you like, and they contain a bunch of Files based around a certain topic. You can use them to bring order to your official school publications or make homework sheets available on your site.
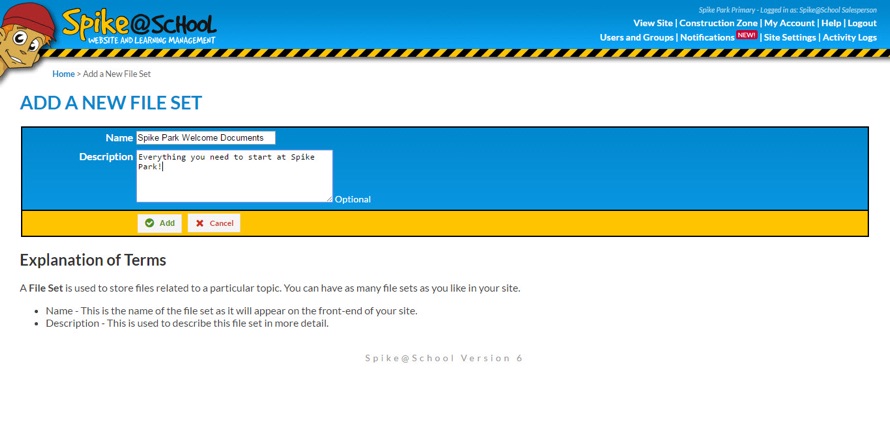
Let’s select File Set from the ‘Add a New’ menu in the Construction Zone. Here we just need to give the File Set a Name and Description.
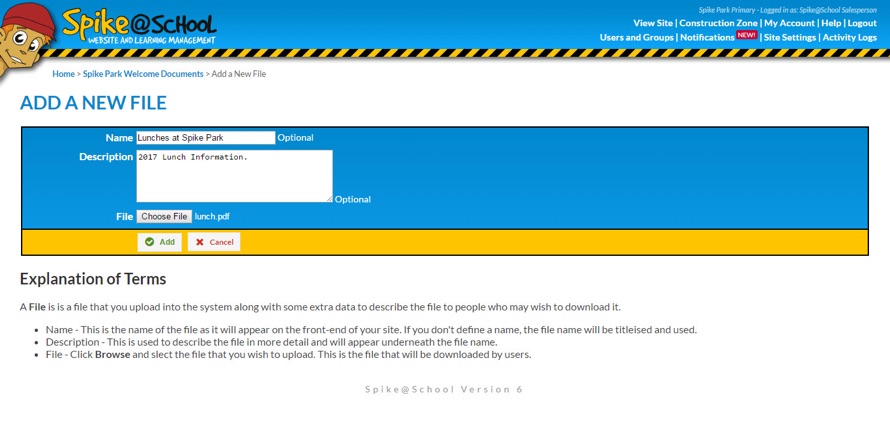
Once you've created your File Set you can click on it and add as many Files to the Set as you like. Simply give your File a Name and a Description, choose your File to be uploaded to our server and click ‘Add’.
We generally accept any File up to 60 Megabytes in size. Once your Files are in the Set you can view them on the website, as we saw above.
We also use a File Set in each of our Learning Caves and Staff Zones.
